Police Open Fire After Fatal Stabbing at Berlin Metro Station
11
World
April 12, 2025 19:07
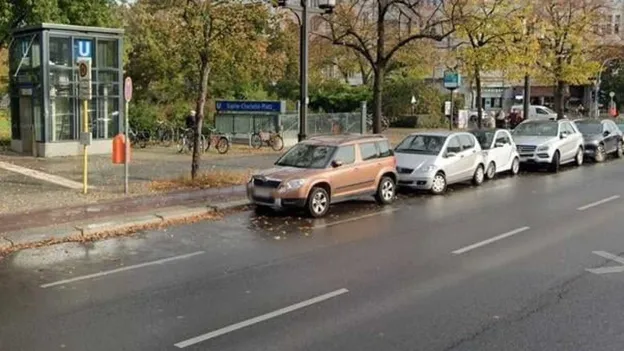
berlin, germany - Berlin police shoot suspect after fatal stabbing incident at Sophie-Charlotte-Platz metro station in Charlottenburg.
Fatal Stabbing Incident in Berlin
Berlin police open fire after a man fatally stabs a passerby at Sophie-Charlotte-Platz metro station. The suspect had threatened pedestrians with a knife.
Details of the Incident:
- An unknown man threatened pedestrians with a knife in Knobelsdorffstrasse, Charlottenburg.
- The suspect fled towards Sophie-Charlotte-Platz metro station where he fatally stabbed a passerby.
- Police pursued the suspect and apprehended him near the metro station.
- The suspect also threatened police officers with his knife, leading to an officer opening fire.
- Four shots were fired, injuring the suspect who was then hospitalized.